
You want to benefit from the advantages of an energy-efficient infrared heater, but are unsure where and how best to mount it? The correct placement of your infrared heater on the wall or ceiling significantly determines heating performance, energy efficiency, and a comfortable indoor climate in your rooms.
This comprehensive guide will tell you everything you need to know about installing and optimally placing your natural stone heating system – from choosing the perfect mounting location to professional fastening and connection.
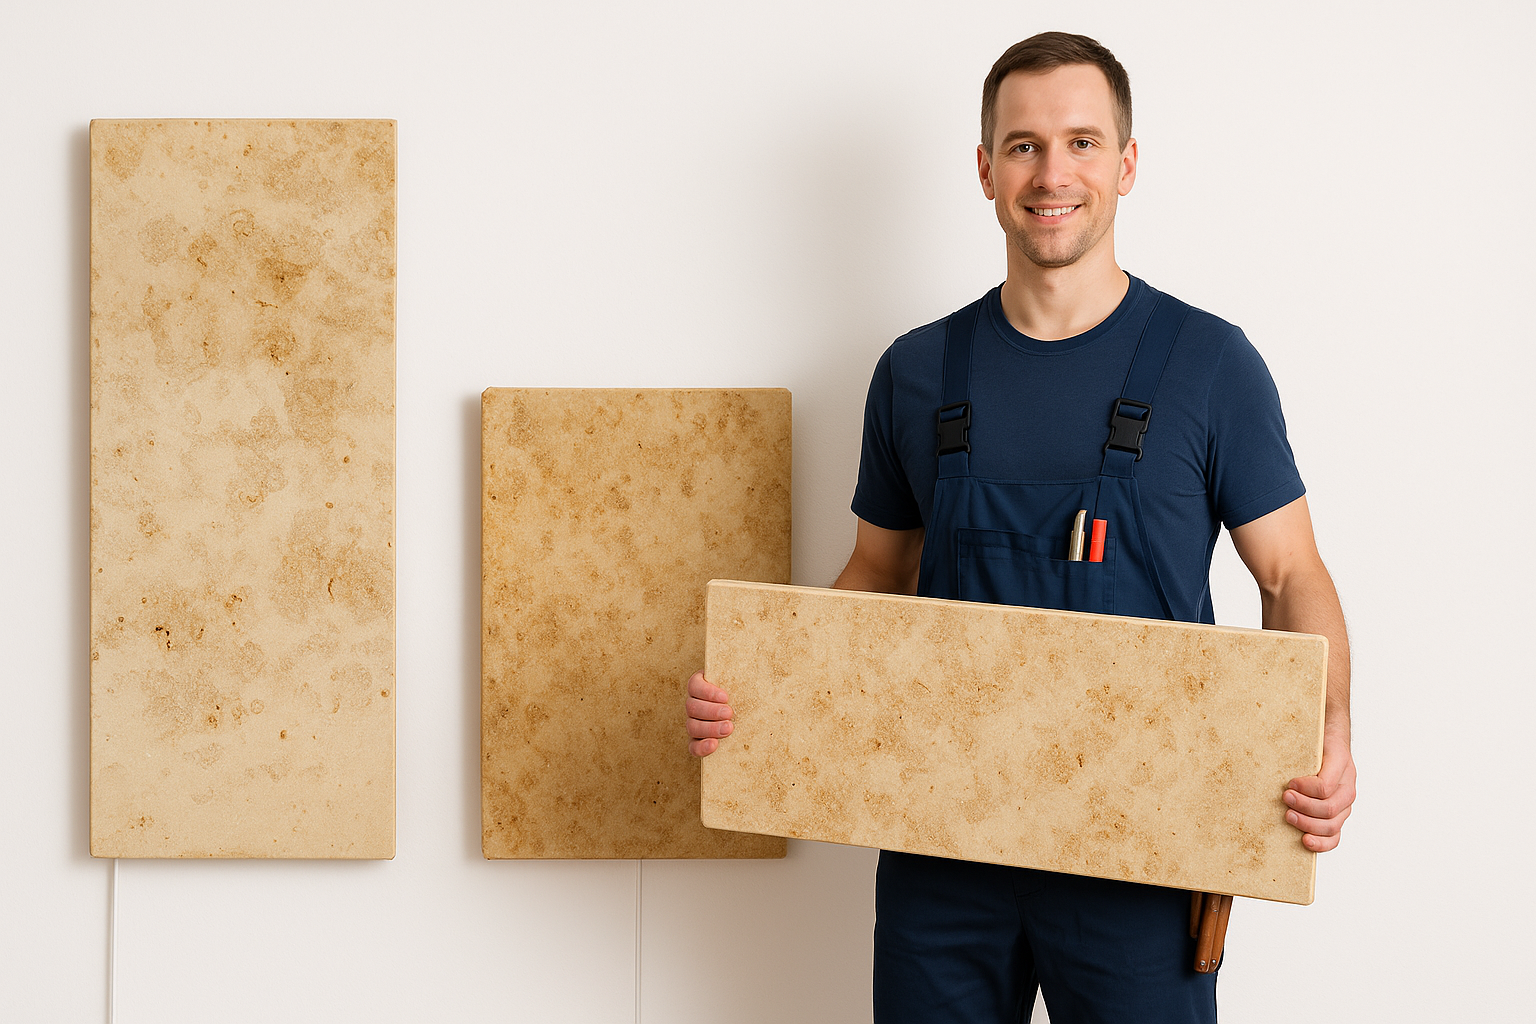
Finding the right position for infrared heaters
When it comes to placing infrared heaters, one important principle applies: unlike conventional heaters, infrared heaters primarily warm objects and people rather than the air in the room. Therefore, a direct line of sight between the heating element and the area where you are sitting is crucial for efficient and comfortable heating.
Infrared heating wall vs. ceiling: The ideal mounting surface
Advantages of wall mounting
✅ Optimal radiation distribution
✅ Easy installation
✅ Reduced heat loss
✅ Flexible positioning
Ideal wall positions for your infrared heater:
• Opposite windows (compensates for cold radiation)
• On interior walls in rooms with multiple exterior walls
• Near frequently used seating areas (without hanging directly above them)
When ceiling mounting is advisable:
✅ Space-saving
✅ Even heat distribution
✅ Aesthetic integration
✅ Child safety
Suitable rooms: Bathrooms, rooms with little wall space, child safety areas, large living areas.
A notice: Room height under 3 meters for optimal effect.
Optimal mounting height for wall installations
The ideal height for a wall-mounted infrared heater is between 1.80 and 2.20 meters.
Step-by-step instructions: Installing an infrared heater
Required materials and tools
• Drill and suitable drill bits
• Screws and wall plugs (included in the scope of delivery)
• Spirit level
• Pencil for marking
• Folding ruler/measuring tape
• Screwdriver
• Possibly a line tester
1. Preparation for assembly
Select location: Determine the optimal position.
Check minimum distances:
• 50 cm to furniture and curtains
• 100 cm to water sources
• 20 cm to the ceiling
• 10 cm from the floor
Ensure power supply
2. Attach the mounting brackets
• Mark drilling points
• Check drill holes
• Drill holes
• Insert dowels
• Screw on the brackets
3.Hang and connect the infrared heater
• Hang the heating panel
• Make an electrical connection:
- For permanently installed models: qualified electrician
- For plug-in models: socket
• Perform a function test
Specific installation tips for different rooms
Living room
• Opposite seating
• Multiple panels for large rooms
• Combination of wall and ceiling
bathroom
• Maintain a safe distance from water sources
• Ceiling mounting recommended
• Wall mounting via towel rail
• Protection class IP34 or higher
bedroom
• Opposite the bed, not above it
• Lower height for gentler radiation
• Pay attention to bed height
nursery
• Ceiling mounting for safety
• Alternatively: wall at height
• Thermostat out of reach
Avoid common installation errors
❌ Insufficient power
❌ Directly above seating
❌ Behind furniture or curtains
❌ Incorrect wall plugs
❌ Minimum distances ignored
Infrared heating and smart home: Intelligent control
• Programmable thermostats
• Zone control
• App control
• Voice control (Alexa, Google Home, HomeKit)
• Presence detection
FAQ: Frequently asked questions about infrared heater installation
How far from the ceiling?
At least 20 cm for wall mounting
Install it yourself?
Plug-in models yes, hardwired connections only by an electrician.
Safety distances?
50 cm to furniture, 10 cm to the floor, 20 cm to the ceiling
Bathroom installation?
Yes, with IP34 protection and a 100 cm distance to water.
How much power per room?
300-800 watts per 10 m² in well-insulated rooms
Where not to mount it.
Behind furniture, above seating areas, on poorly insulated walls
Conclusion: The perfect installation for maximum heating comfort
Proper installation and placement of your infrared heater are crucial for energy efficiency and heating comfort. With Marwona's natural stone heaters and thoughtful placement, you can create a pleasant, energy-efficient living environment.
Contact us for a personalized consultation!
Infrared heating: The complete guide to function, costs and efficiency 2025
Infrared heating for renovation, conversion and monument protection